AiSuitup Review: This AI Headshot Generator is Incredible and Affordable
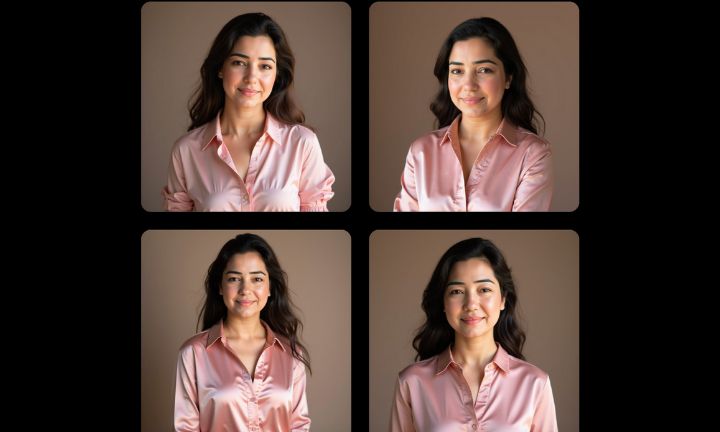
AiSuitup Review – I recently tried out a new AI headshot generator called AiSuitup and received amazing results, like this:
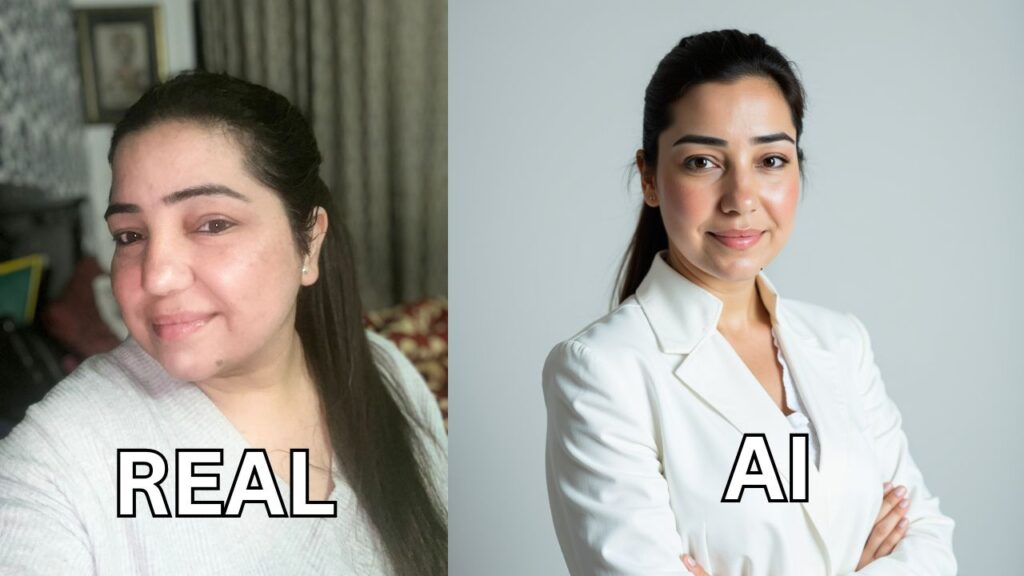
Allow me to guide you on how to create similar AI headshots for yourself.
Disclaimer: This post contains affiliate links at no additional cost to you.
🚀 Transform your profile today with AiSuitup’s affordable AI headshot generator!
Creating AI headshots—step by step
#1 Visit AiSuitup
First, head over to this page.
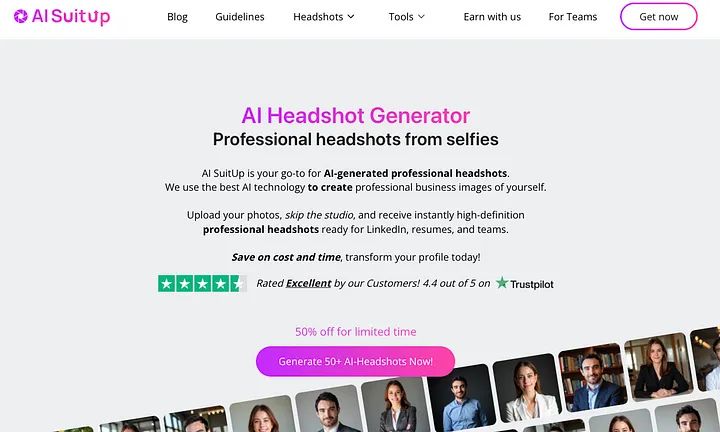
This is the AI headshot generator that you can upload selfies and turn into professional images.
#2 Pick a Plan
I recommend choosing the Professional plan because there you’ll get 100 headshots.
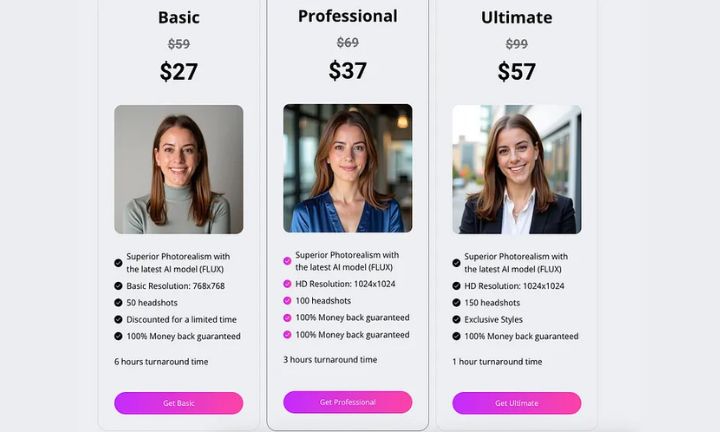
Using AI is always a bit of a gamble. Out of 100 images, you might find 5 to 10 that you really like. When generating fewer than 50 images, the chances of getting high-quality results significantly decrease.
💼 Upgrade your career image with stunning AI-generated headshots!
#3 Read The Instructions
Then read the instructions on how to use the tool.
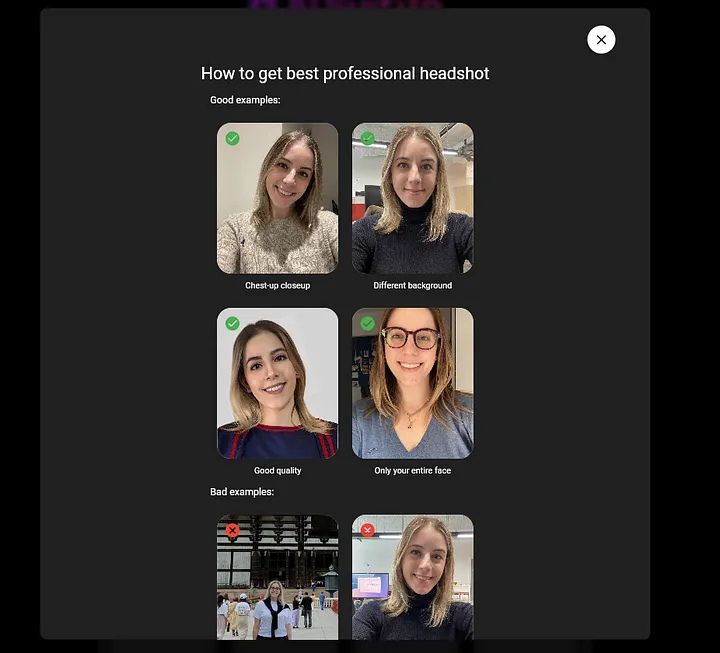
Here’s what to keep in mind when selecting images:
- Chest-up close-up: Choose a close-up that showcases the upper part of your body, including your face and shoulders.
- Different background: Opt for a neutral or professional background that isn’t cluttered or overly busy.
- Good quality: Ensure the photo is high-quality, well-lit, and clear.
- Entire face visible: Make sure your full face is visible, without any obstructions such as glasses, hats, or excessive shadows.
Avoid these bad examples:
- Taking the photo from too far away or in a crowded environment.
- Using a background that is too distracting or informal.
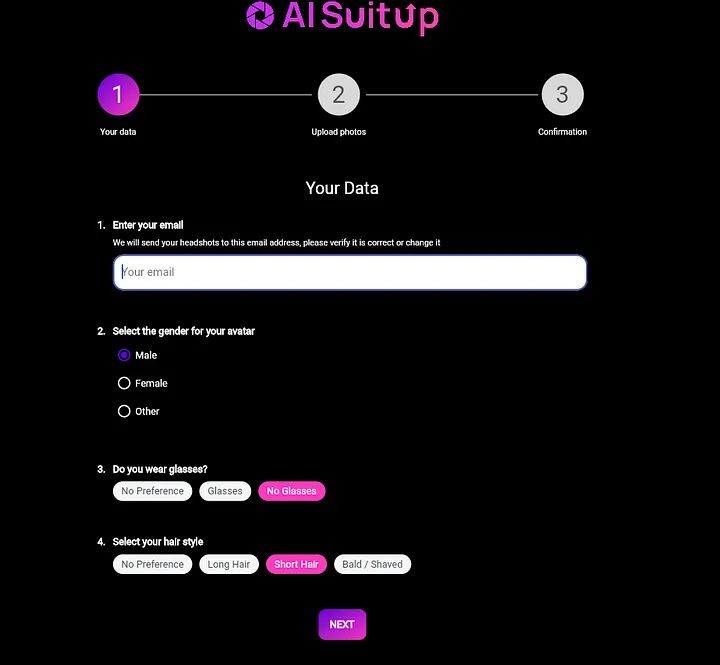
#4 Add Your Characteristics
Next, share information about yourself with the AI. This will enable it to generate more accurate results.
Provide your email (to receive the headshots), gender, hairstyle, and indicate whether you wear glasses.
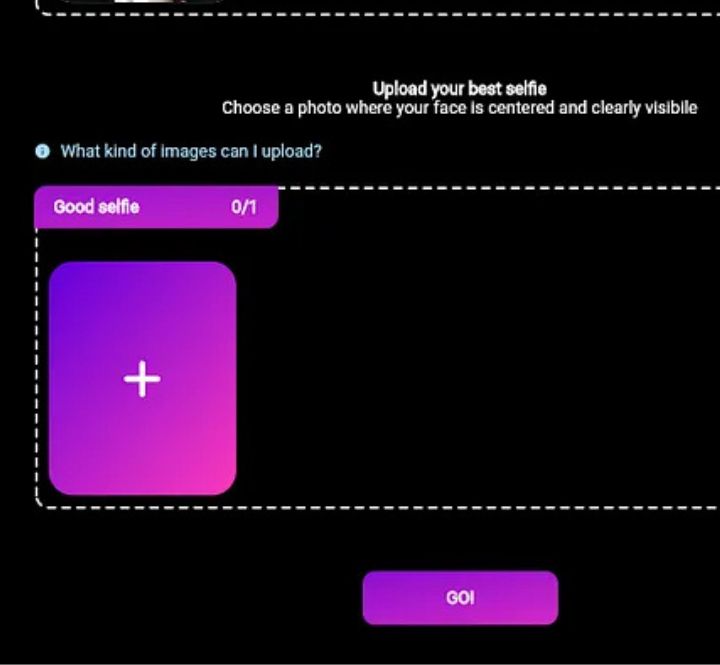
#5 Upload Selfies
Now, upload your selfies. You can select them from your mobile device’s camera roll, for instance.
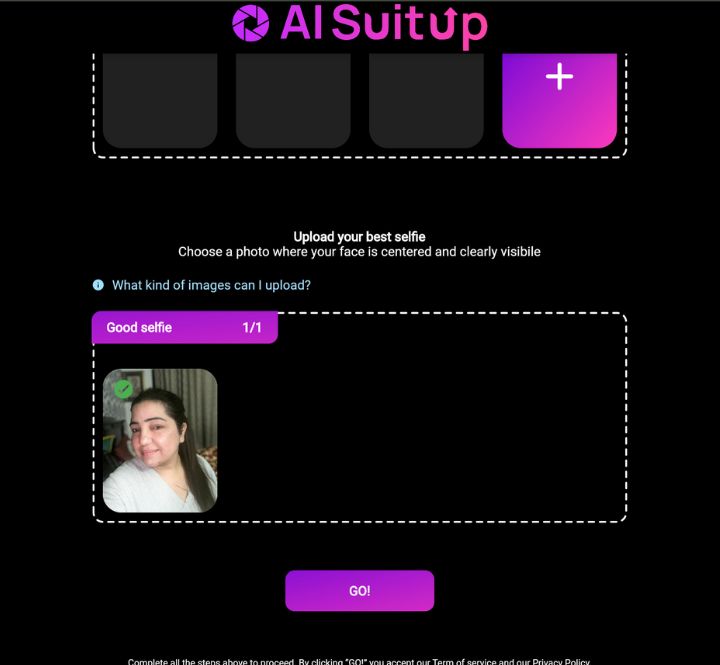
Sometimes the upload fails simply because the images aren’t high enough in quality.
If this happens, choose another image.
💰 Professional-quality headshots at a price you’ll love – start now!
#6 Choose the Best Picture
After uploading 15 selfies, the tool will prompt you to select the best picture of yourself. The AI will use this as the base image.
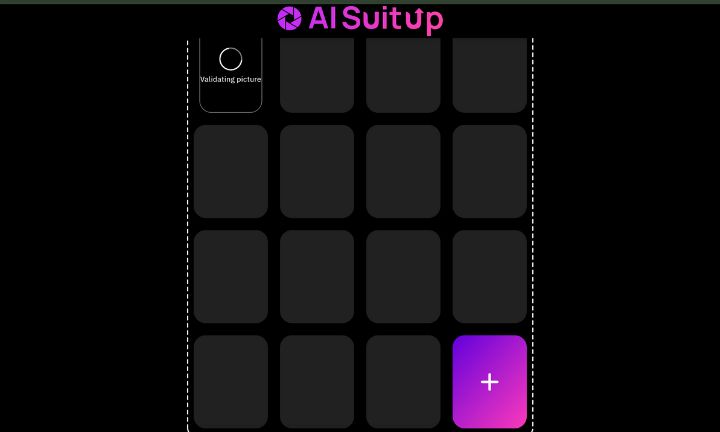
#7 Wait for Validation
After uploading your images, give the AI a moment to validate them.
#8 Send and Wait
Once the validation is complete, click “send.”
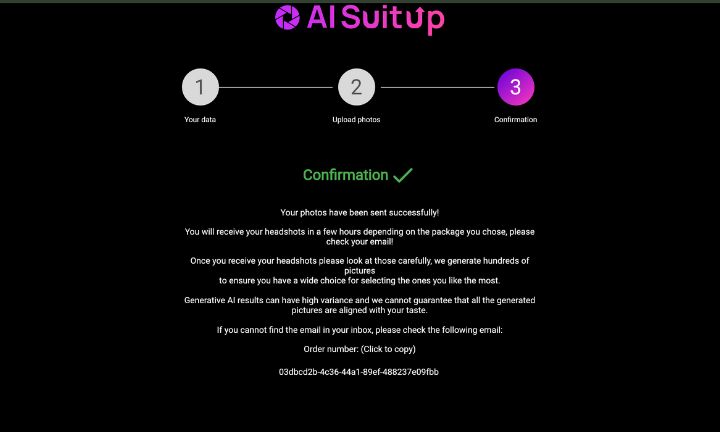
This sends your photos to AiSuitup servers for the AI to take the headshots.
Then just wait.
🖋️ Make your first impression count with AiSuitup’s stunning headshots!
#9 Open up the email
Once the AI has made your images, you will receive an email like this:
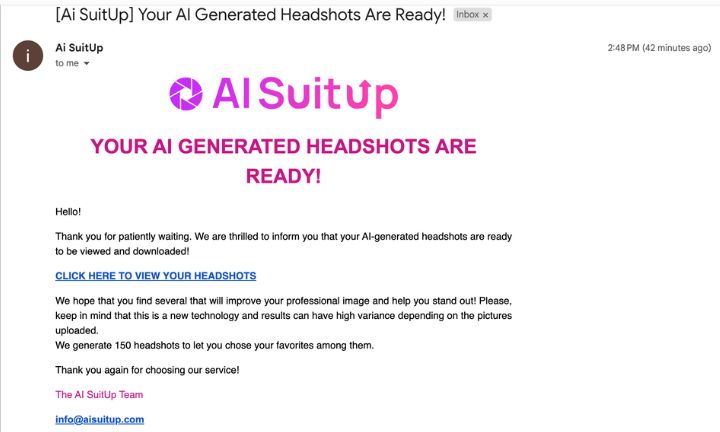
That’s convenient!
There’s no need to wait for the images to generate. For me, it took about 60–120 minutes.
Just click the email link to view your headshots.
#10 Enjoy the results
Scroll below to see your headshots.
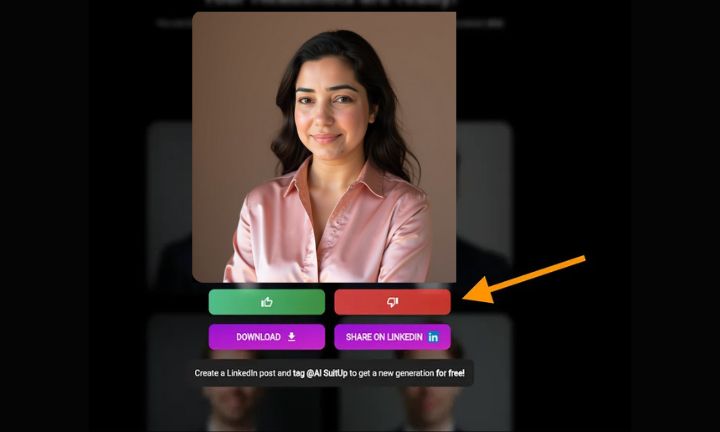
#11 Like/Dislike To Filter Images
Feel free to use the like/dislike to remove bad images from the gallery.
#12 Save Link
Make sure to save the email/catalog, as you won’t be able to sign in to AiSuitup. This is the only way to access the images in the future.
My Take
I believe AiSuitup offers the best value for its price. The cheapest plan is only $27, and you’ll receive 50 fantastic headshots for that.
However, if you’re seeking customizations for your images, you should consider trying BetterPic or Aragon AI.
🌟 Affordable, easy, and stunning – try AiSuitup’s headshot generator now!